The Dos and Dont’s of Perming Hair
Original published date: Nov 24, 2022
Major Update Date: Jul 08, 2026
Getting a perm is one of the most transformative ways to add body, texture, and lasting bounce to your hair. But unlike a routine blowout or trim, a perm is a chemical commitment. Achieving dreamy, healthy curls requires understanding your hair's structure, selecting the right perming method, and partnering with an experienced stylist at the best hair salon.
Whether you're craving soft beachy waves or tight, defined corkscrews, this guide covers everything you need to know about modern perming techniques, essential aftercare, expert texture insights, and the ultimate dos and donts to protect your hair's structural integrity.
The Science and Evolution of Perming Techniques
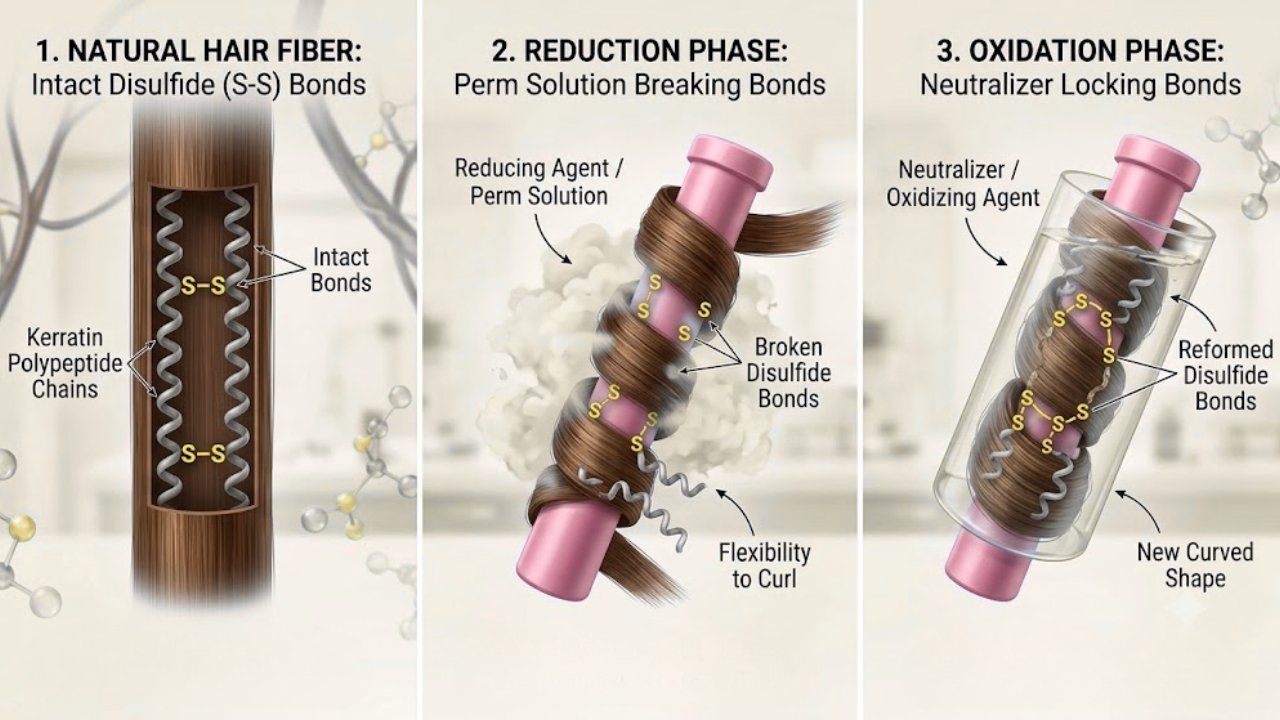
Getting a perm today is vastly different from the tight, chemical-heavy perms of decades past. Modern perming technology focuses as much on hair health and bond preservation as it does on aesthetic texture.
At its core, perming is a two-step chemical process:
Reduction: A reducing solution breaks down the hair's internal disulfide cross-links within its keratin structure, a mechanism detailed in thermorheological studies on permed human hair, making the fiber pliable enough to take on the shape of a rod.
Oxidation: A neutralizer (typically hydrogen peroxide) re-forms those disulfide bonds in their new, curled positions.
Historically, traditional perms relied almost exclusively on harsh, alkaline ammonium thioglycolate solutions that opened the hair cuticle forcefully. Today, advanced cysteamine-based formulas and thermal perming systems allow stylists to reshape hair with significantly less cuticle erosion, as highlighted in cosmetic research from the University of Manchester.
Cold Perms vs. Digital Perms
Cold Perms (Traditional): Best for fine or thin hair wanting tight, defined curls right from the root. Curls appear strongest when wet and dry into a bouncy texture.
Digital Perms (Hot Perms): Originating in Asia, digital perms use temperature-controlled rods heated by a digital machine. This technique creates soft, natural, "loose-iron" waves that become more defined as the hair dries—with significantly less chemical stress on the cortex.
Choosing the Right Type of Perm
Not all perms yield the same pattern. Matching the perming style to your density, length, and hair goals is critical to getting a look you love.
Modern Perm Types Compared
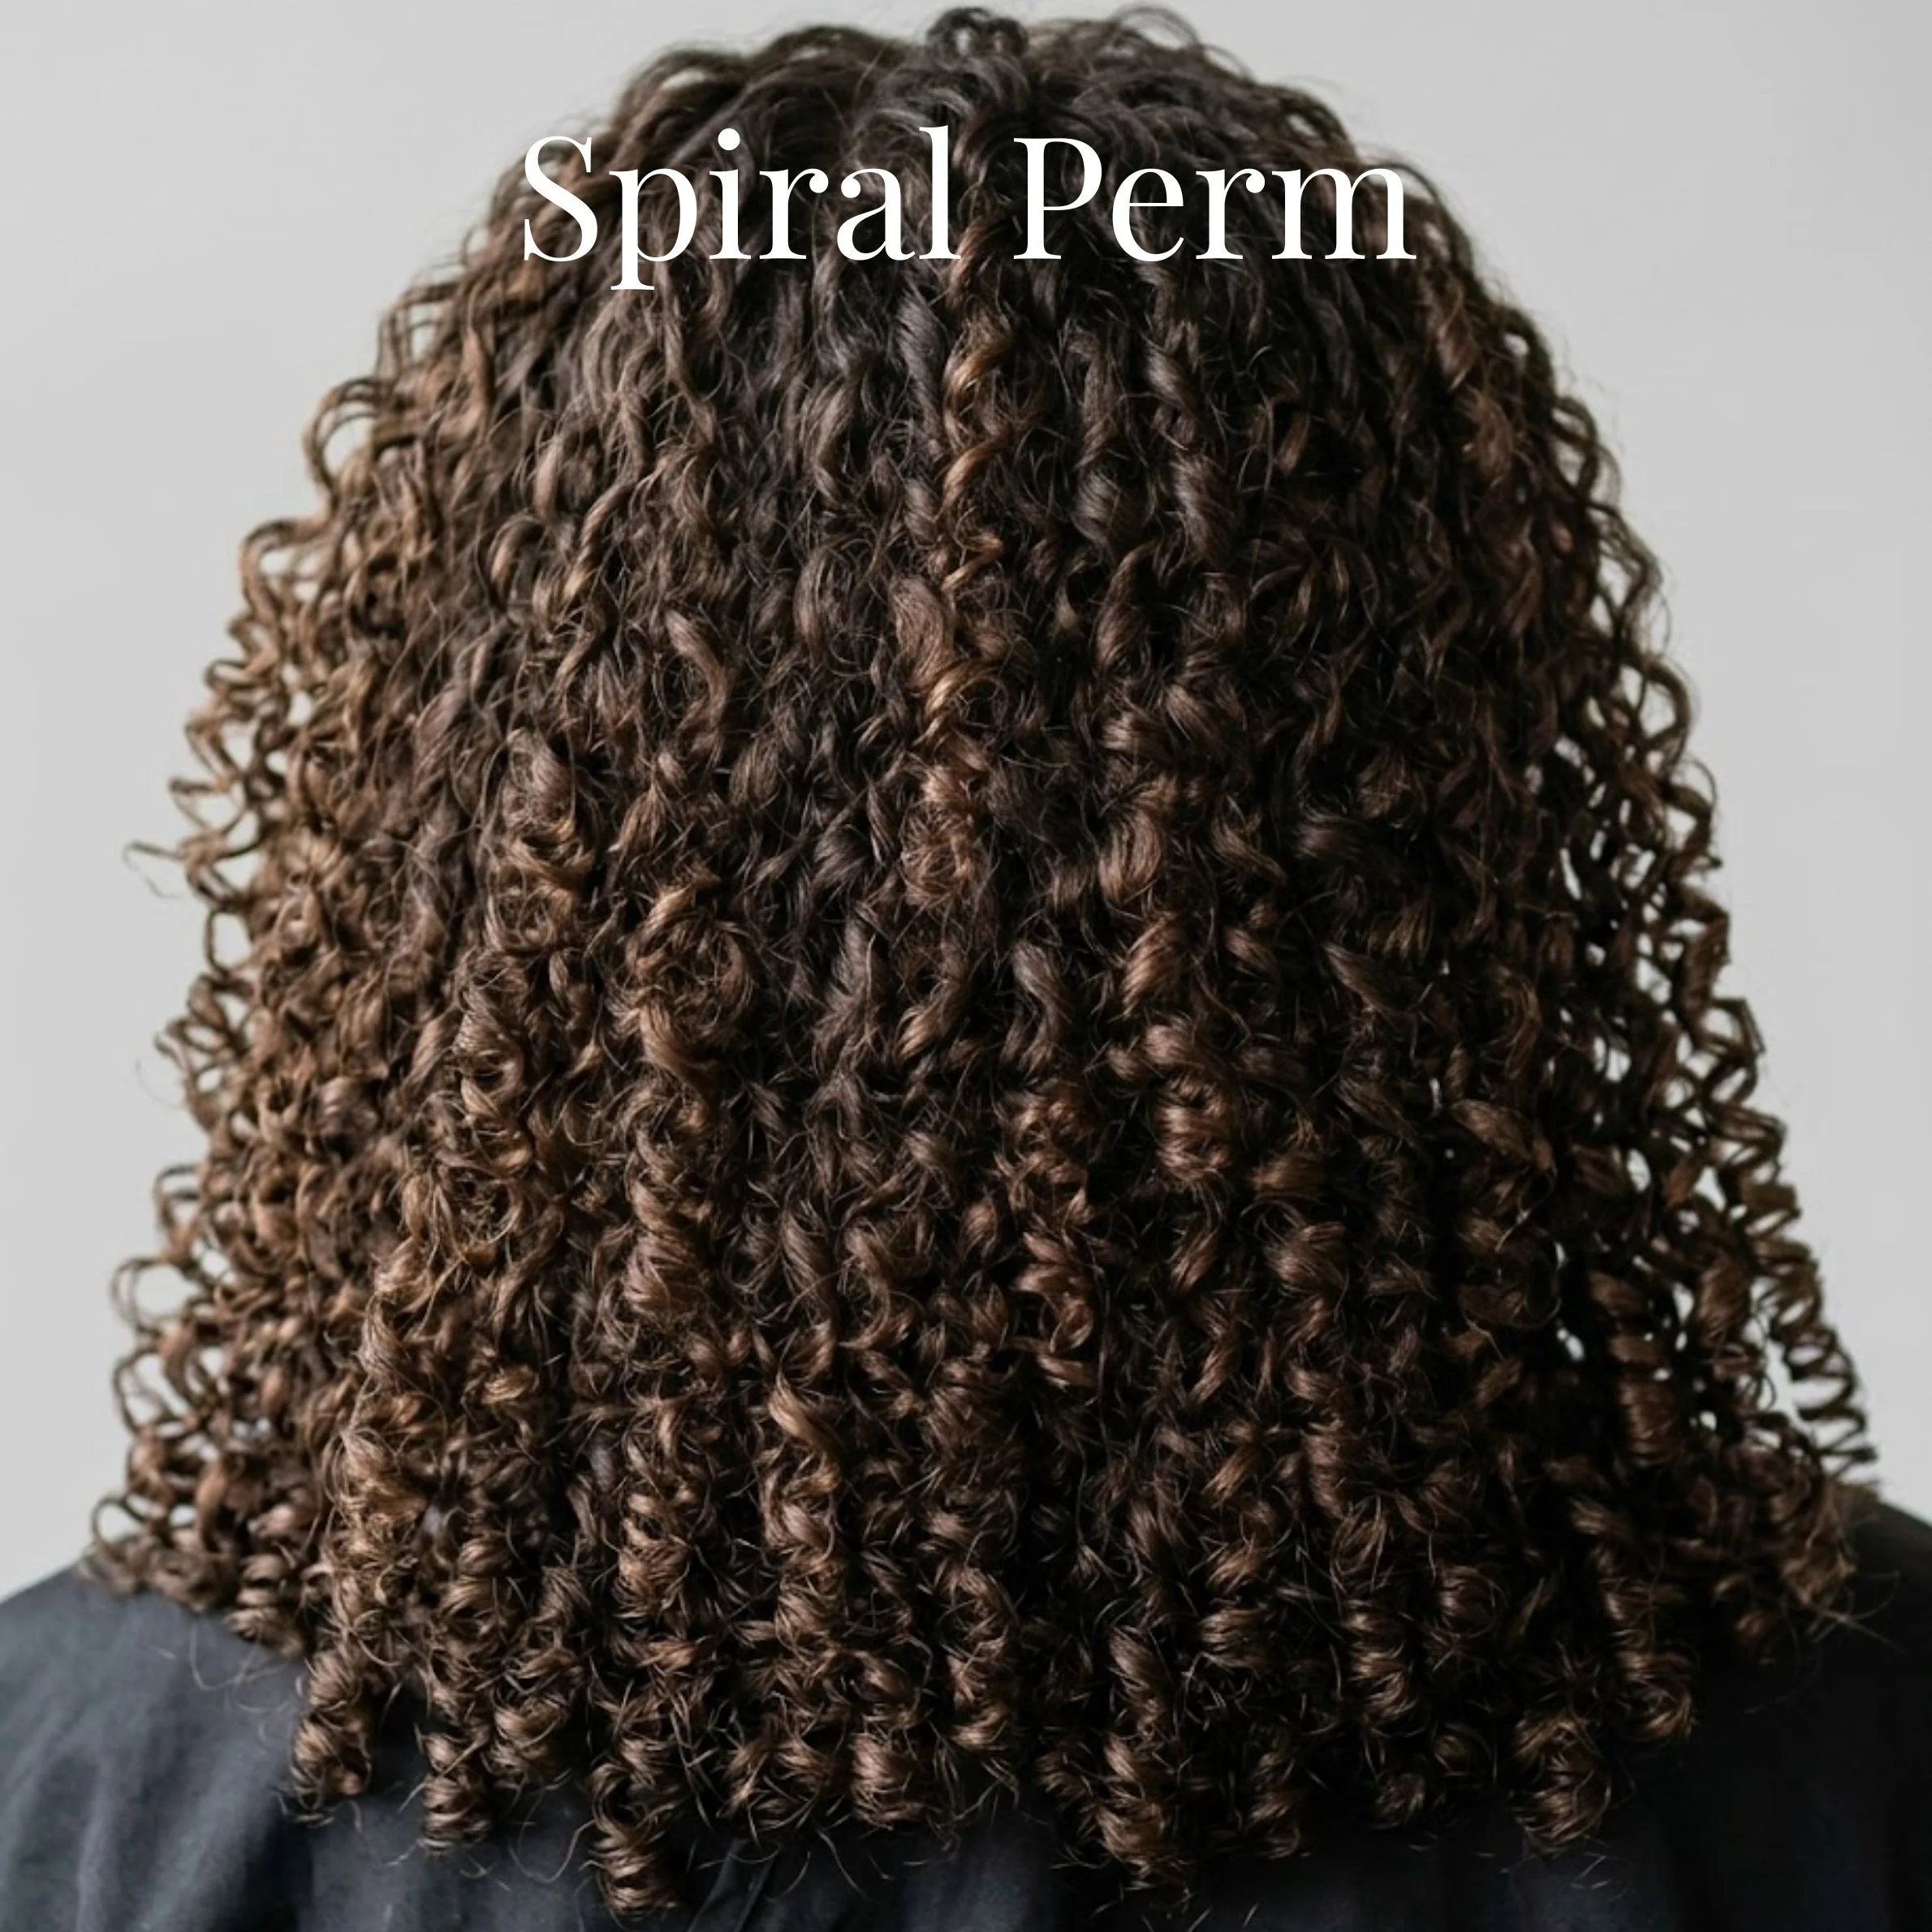
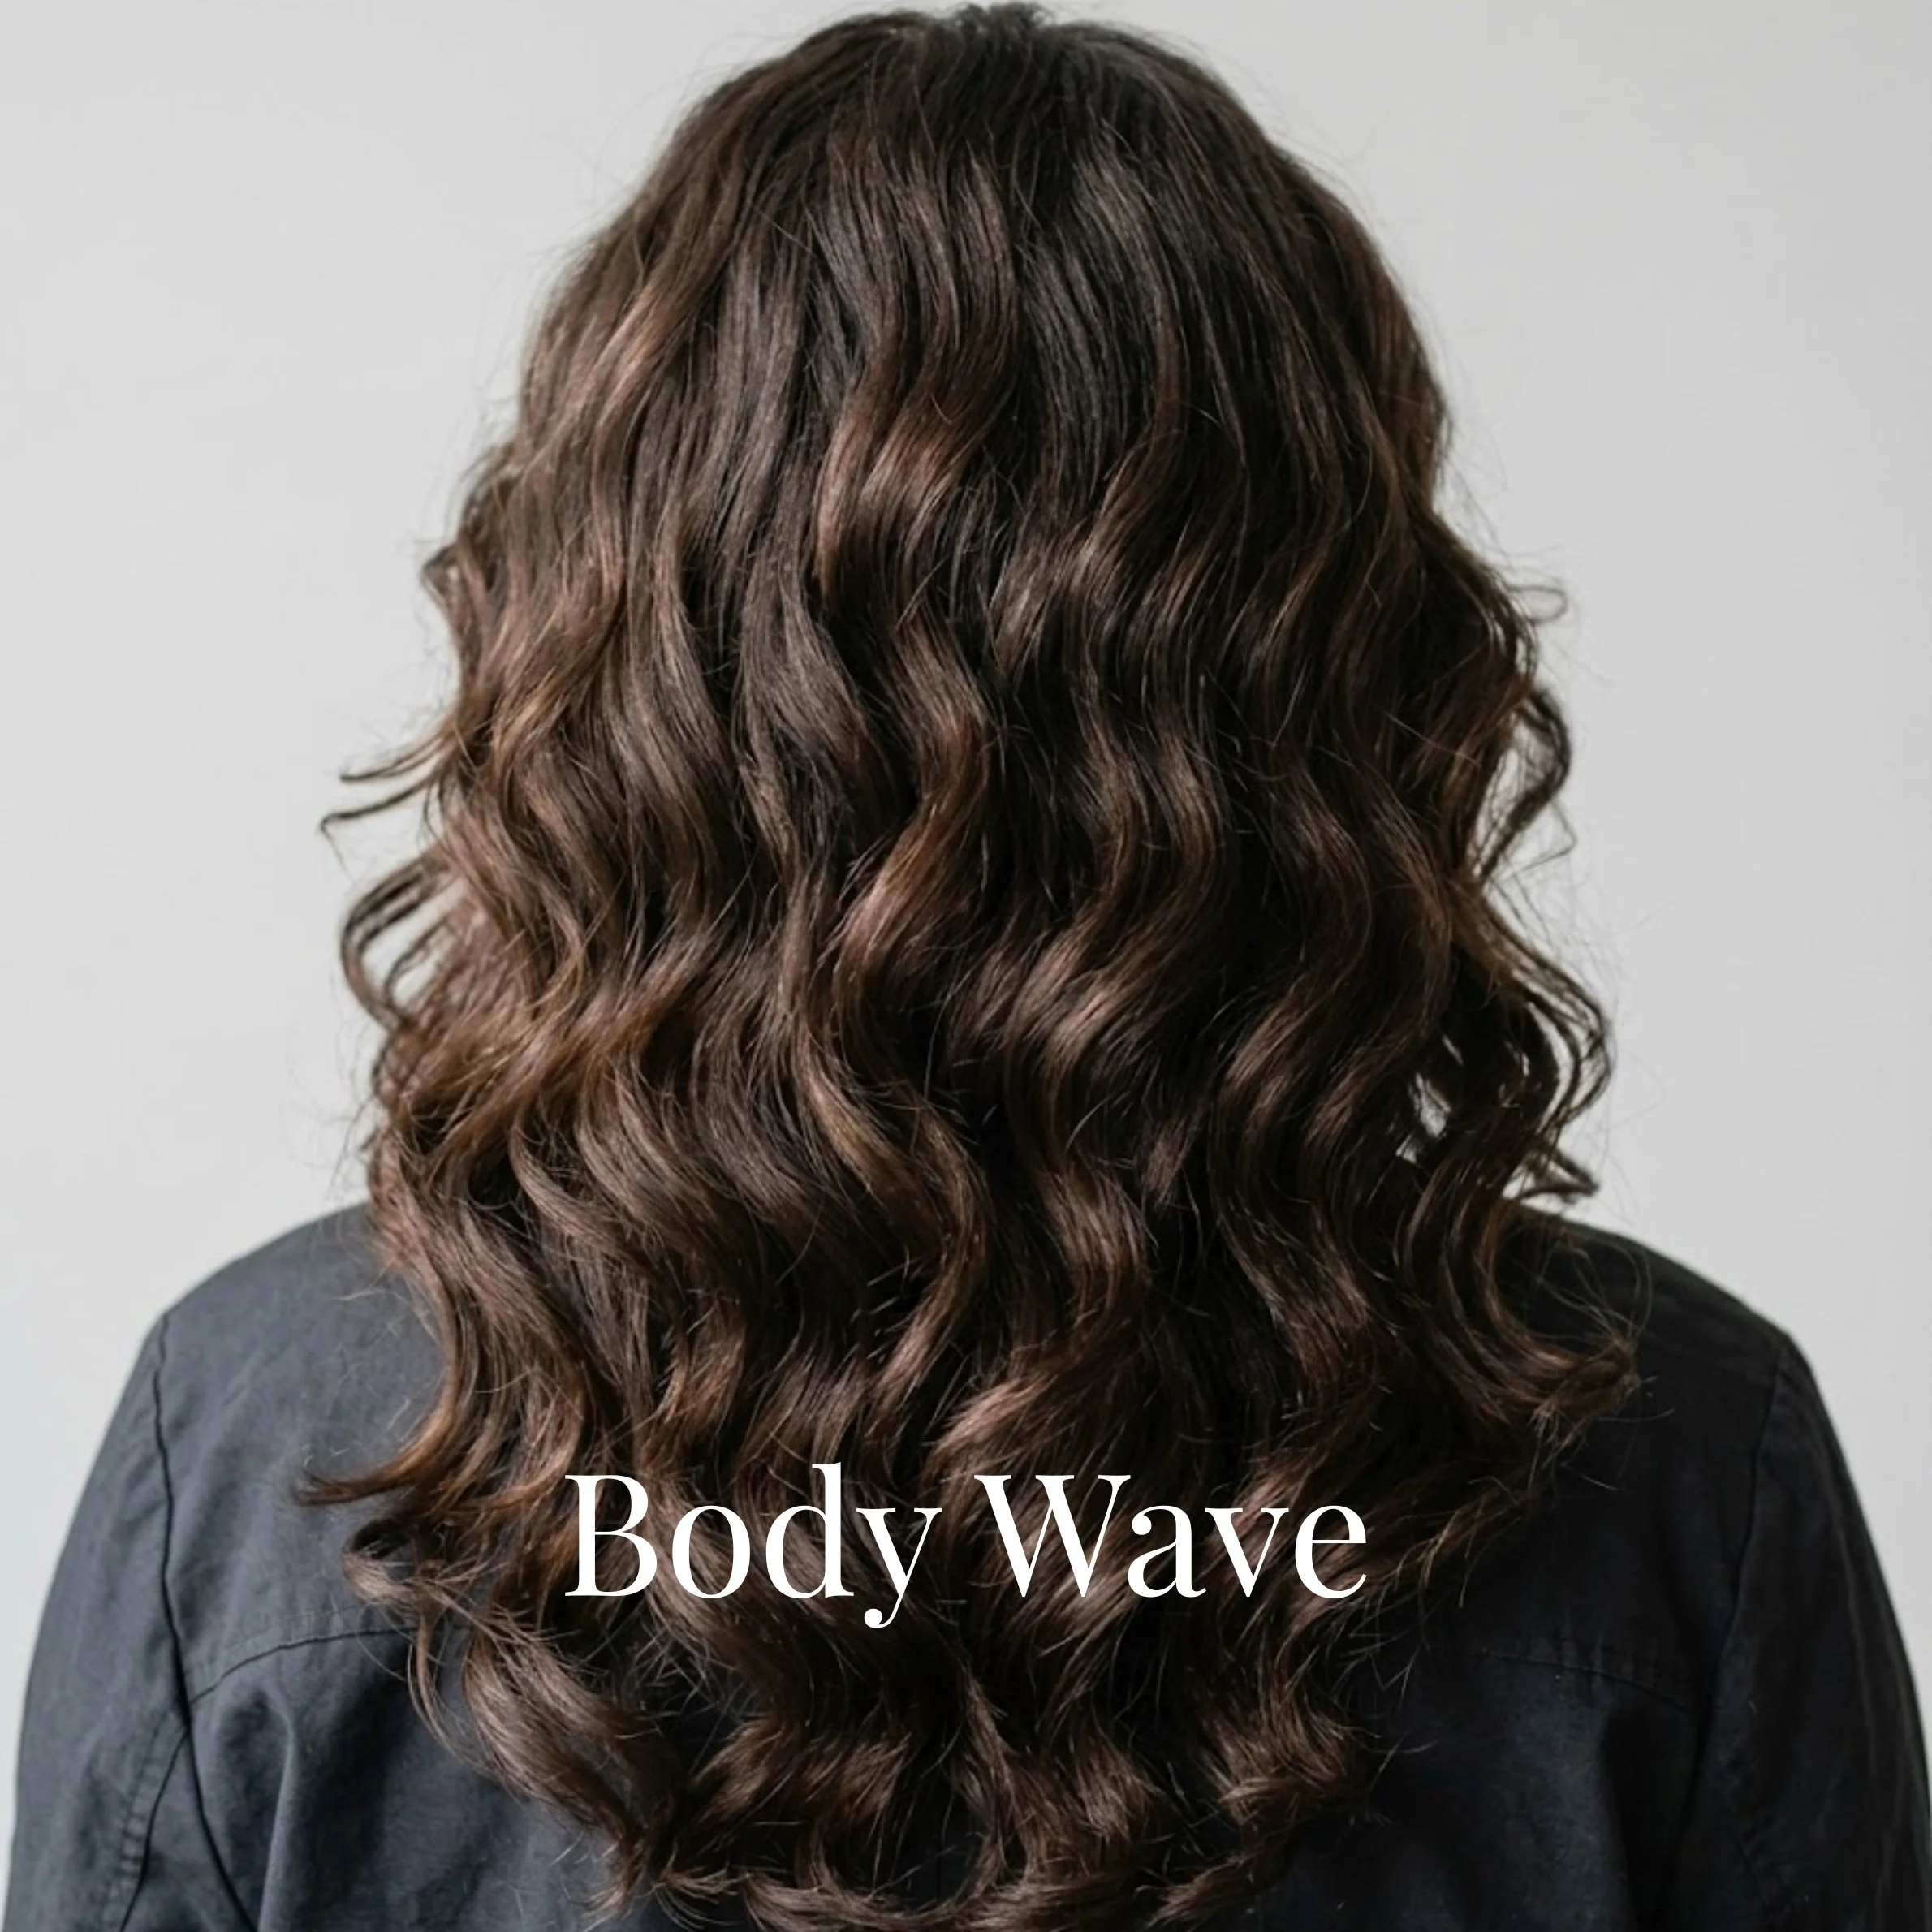
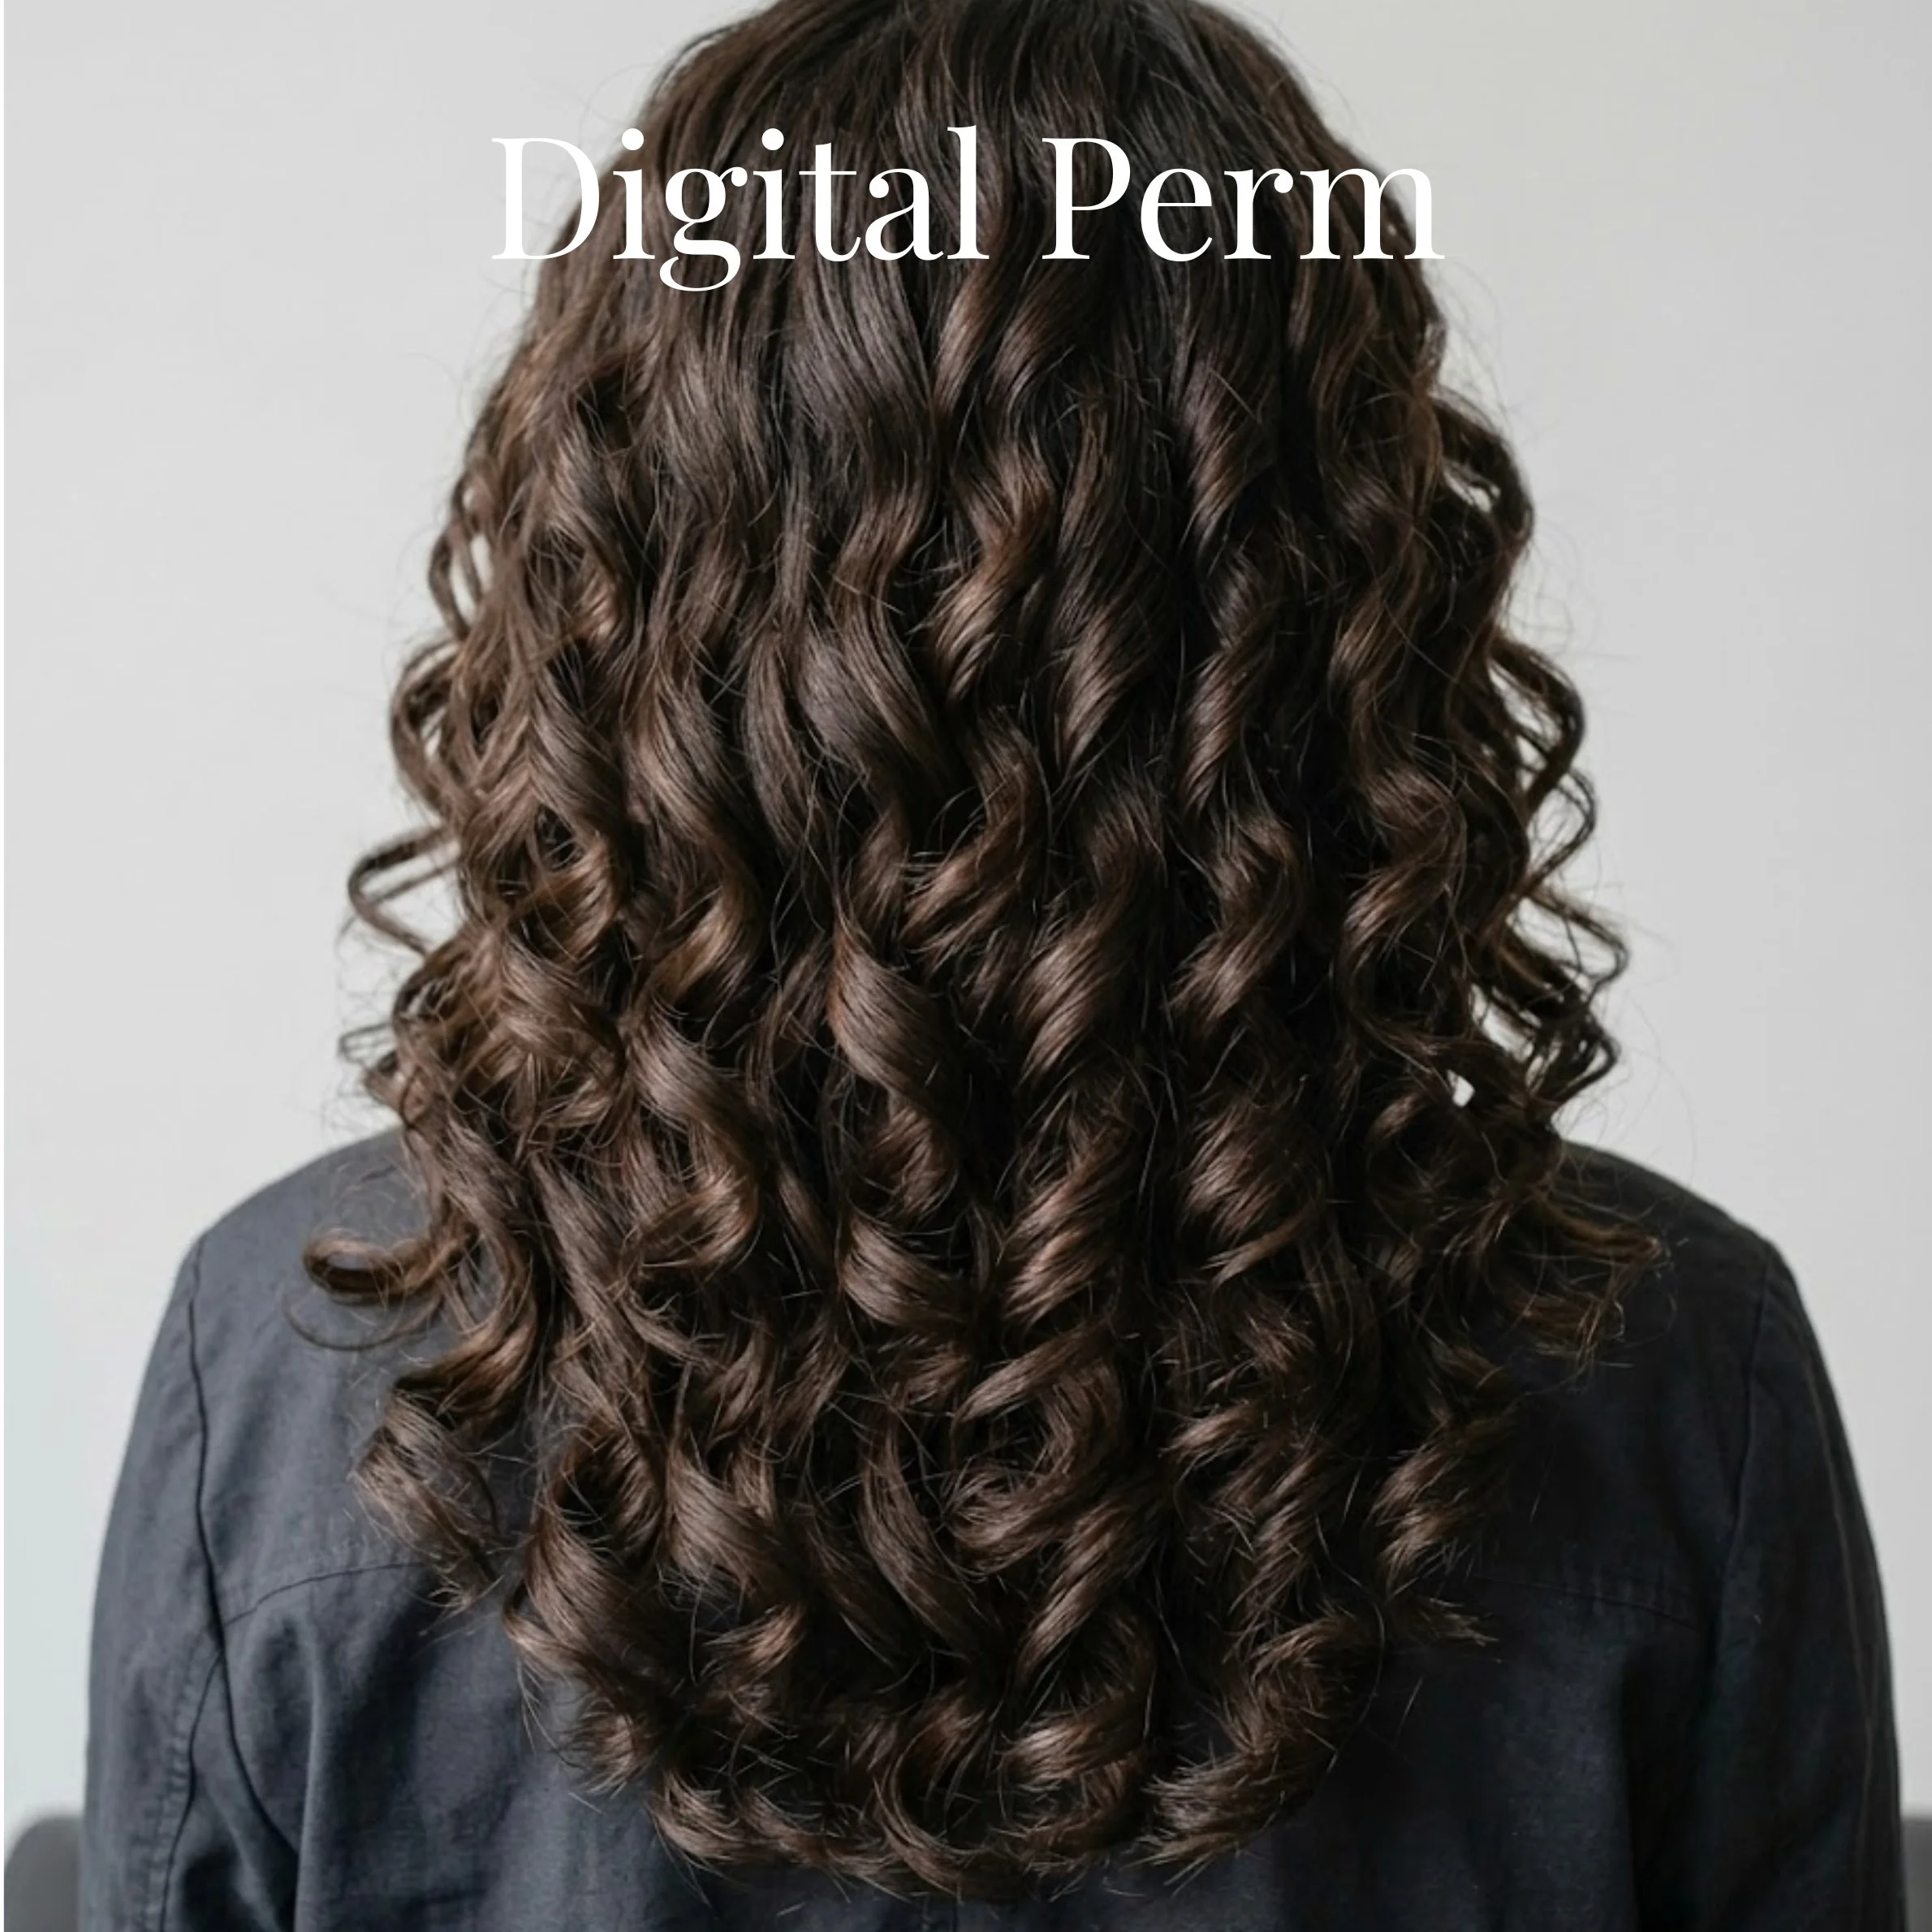
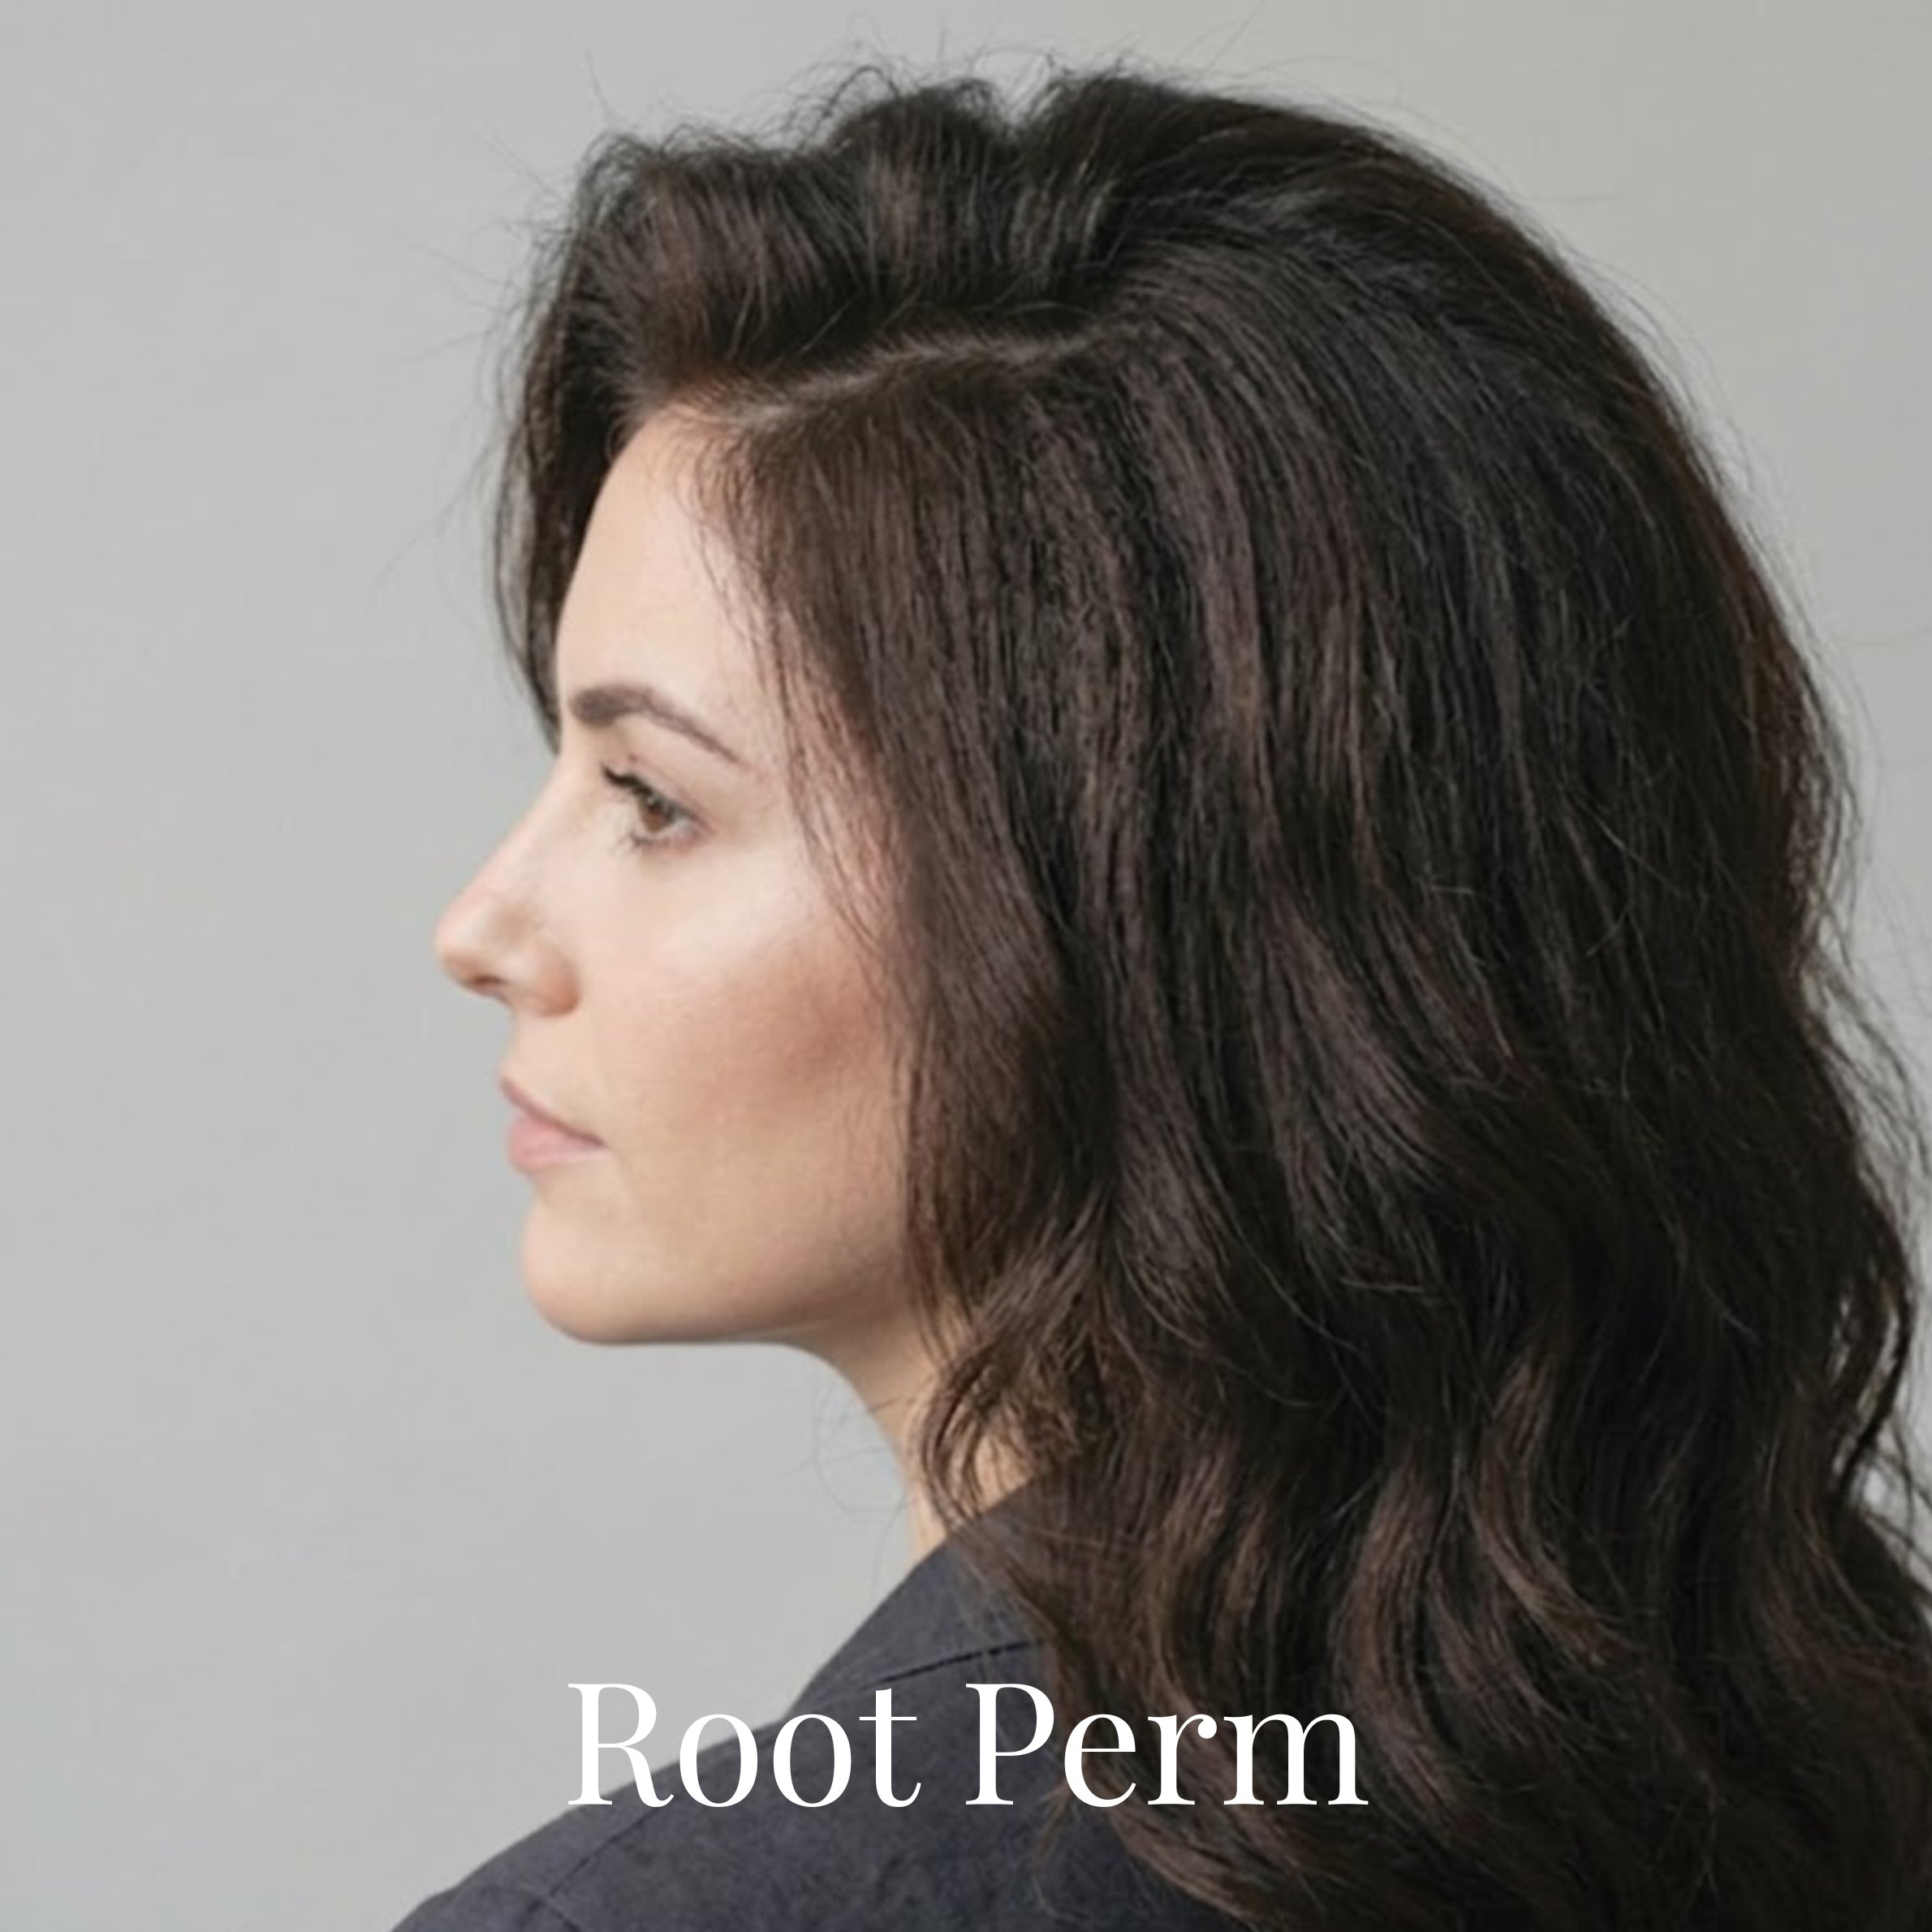
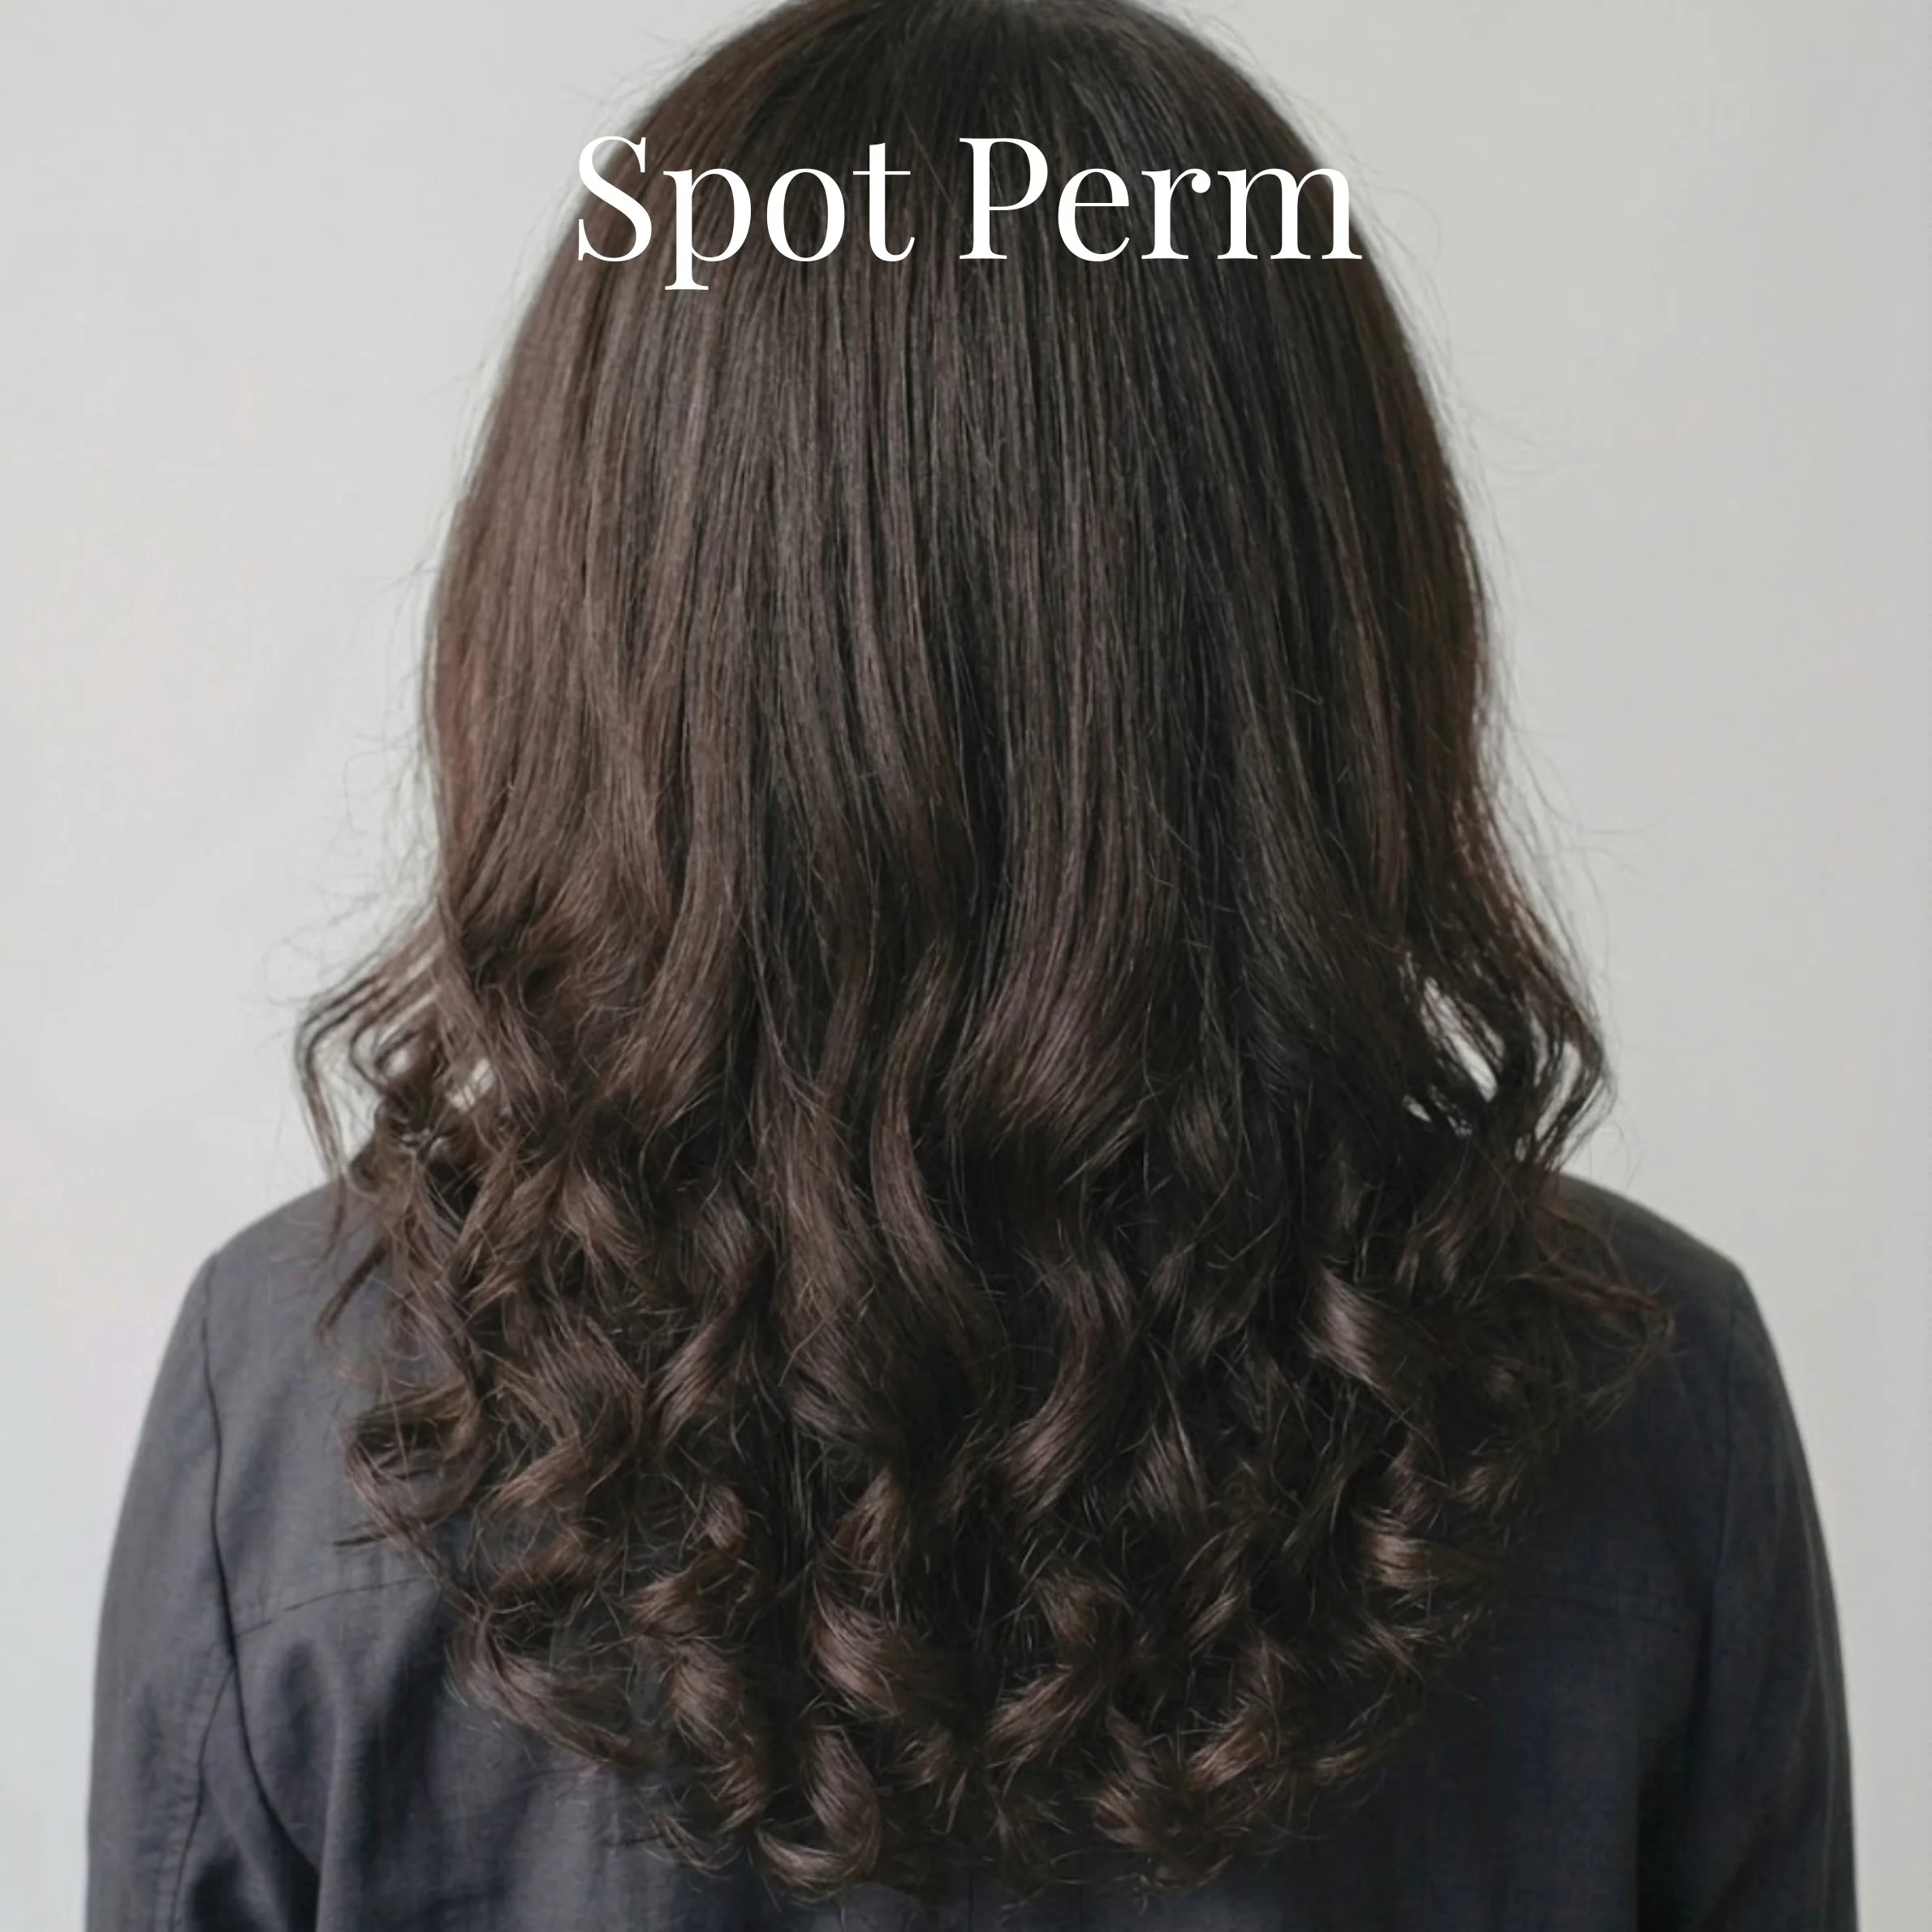
| Perm Style | Ideal Hair Type | Curl Result | Maintenance Level |
|---|---|---|---|
| Spiral Perm | Medium to long hair | Tight, corkscrew-like curls | High |
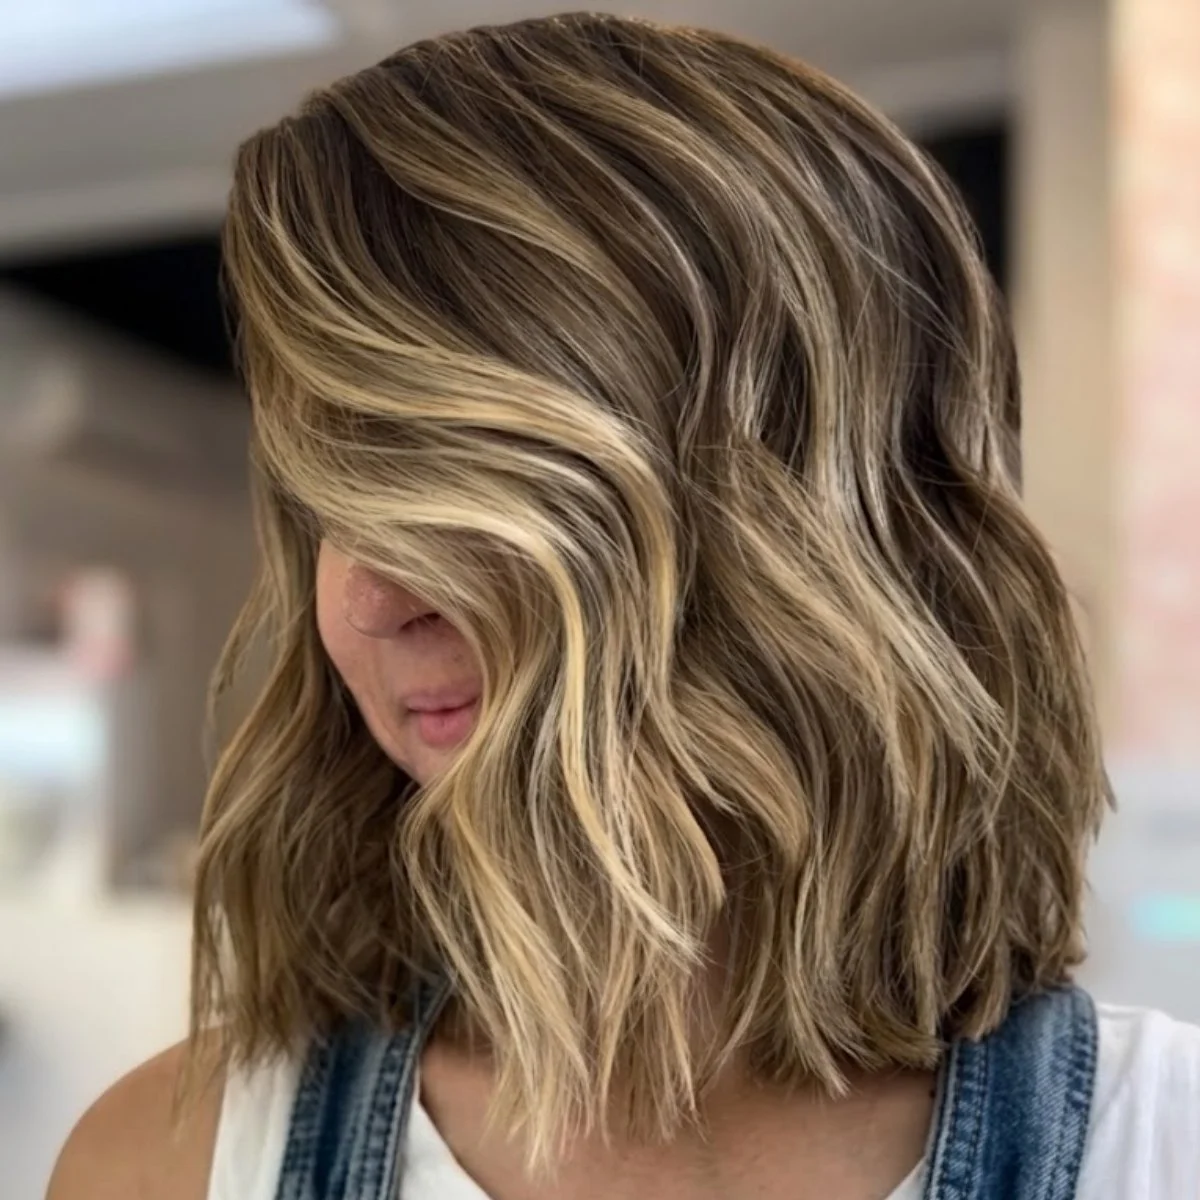
| Body Wave Perm | Fine, limp, or straight hair | Soft, romantic, beachy waves | Low to Medium |
| Digital Perm | Medium to thick straight hair | Smooth, natural-looking "loose iron" waves | Low |
| Root Perm | Thin or flat hair at the crown | Lift and volume at the scalp only | Low |
| Spot / Partial Perm | Uneven natural textures or cowlicks | Targeted curl in specific sections | Low |
Pro Tip: Keep in mind that tight perms (like spiral perms) create dramatic shrinkage, making your hair appear 2 to 4 inches shorter than its actual length once dry
The Dos and Don'ts of Perming Hair
Navigating chemical hair services comes down to proper timing, precision wrapping, and correct product selection:
The DOs
DO find a texture specialist: Perming requires precise chemical timing, wrapping angles, and tension control. Always choose a stylist who specializes in texture services.
DO get a strand and elasticity test: A strand test helps your stylist evaluate whether your hair fibers can withstand chemical bond reduction without breaking.
DO use sulfate-free, curl-friendly products: Standard shampoos strip moisture. Switch to gentle, sulfate-free cleansers designed for chemically treated or naturally curly hair.
DO maintain a moisture-protein balance: Chemical perms temporarily lower elasticity. Incorporate a weekly deep-conditioning mask and occasional protein treatments to keep keratin bonds strong.
DO dry your hair gently: Swap coarse bath towels for a microfiber towel or cotton T-shirt to blot water without disrupting the curl pattern or raising the cuticle.
The DON'Ts
DON'T wash your hair for 48 hours post-perm: Disulfide bonds need up to 48 hours to fully neutralize, harden, and lock into their new shape. Washing too early can cause curls to drop or become uneven.
DON'T use tight hair ties or clips right away: Avoid pulling your hair into tight ponytails, topknots, or using hard clips during the first 48 hours to prevent permanent creases.
DON'T overuse direct heat: Limit flat irons and curling wands. When blow-drying, always use a diffuser attachment on a warm or cool setting along with a heat protectant spray.
DON'T attempt a perm over heavily bleached hair: Combining high-lift bleach with perming chemicals severely degrades internal protein structures. In fact, cosmetic science research shows that overlapping these treatments compromises the hair fiber's tensile strength, leading to severe brittleness and breakage. Always space chemical services at least 2 to 3 weeks apart under professional supervision.
1. Tension is Everything
The outcome of a perm isn't just about the solution; it's about physical wrapping technique. Too much tension on a rod snaps fragile hair during processing; too little tension causes sagging, lifeless waves. This is why DIY home perm kits fail far more often than salon treatments.
2. Porosity Dictates Processing Time
Highly porous hair absorbs chemical solutions instantly, meaning it can over-process in minutes. Low-porosity hair requires careful heat activation to lift the cuticle gently. A professional always adjusts solution strength based on hair porosity, not just hair thickness.
3. The "48-Hour Lock-In" Rule is Real
The oxidation process doesn't completely end when you step out of the salon bowl. Residual chemical stabilization continues for up to two days. Avoid steam, heavy sweat, rain, and shampooing during this window to preserve your curl memory. "
Should You Cut Hair Before or After a Perm?
This is one of the most common questions clients ask, and the ideal answer actually involves both:
Before the Perm: Get a light trim to eliminate split, dry, or frayed ends. Healthy ends absorb perming solution evenly, whereas dead ends turn frizzy or "fishhooked."
After the Perm: Once the curls are locked in, your stylist should do a visual dry-cut or perimeter clean-up. Because perming changes how hair layers sit and shrink, post-perm shaping ensures your hairstyle flatters your face shape.
Conclusion: Embrace Your New Texture with Confidence
Getting a perm is an exciting journey that can completely redefine your aesthetic, add instant volume, and drastically simplify your daily styling routine. However, the secret to gorgeous, head-turning curls doesn't stop when you step out of the salon chair—it lies in how well you respect the perming process from start to finish.
By partnering with an experienced texture stylist, adhering to the crucial 48-hour post-perm waiting period, and committing to a moisture-rich aftercare routine, you can enjoy defined, vibrant, and healthy curls for months to come. Ready to take the plunge? Consult with a professional to find the perfect perm style suited to your hair type and lifestyle!
Perm & Curl Recovery Timeline
Click each milestone below to view care instructions
Initial Care & Stabilization
No water, no steam, and no hair ties! Your curls are currently stabilizing into their new structure.
- Avoid showering or getting hair wet
- Do not pin, tuck, or tie hair back
- Protect hair from humidity and steam
Frequently Asked Questions
-
Yes, but with caution. Hair that has been colored with demi-permanent or single-process permanent dye can usually be permed using mild, acid-balanced or cysteamine-based solutions. However, hair that has been heavily bleached, highlighted, or chemically relaxed is generally too compromised to handle perming chemicals safely. Always request a strand test before proceeding.
-
If your hair gets slightly damp from light rain or humidity, gently blot it with a microfiber towel and diffuse on low heat without pulling or brushing the curls. If you thoroughly soak or shampoo your hair within the first 48 hours, you risk deactivating the neutralizer, which can cause curls to drop unevenly or turn frizzy.
-
A modern perm typically lasts 3 to 6 months, depending on your hair length, texture, and aftercare routine. As your natural hair grows in at the roots, the permed curls will slowly relax over time. Regular trims and hydrating routines help maintain shape as long as possible.
READ MORE…